
So we finally got around to making these glitter globes for the teacher's gifts. It took us all day thanks to the baby and dinner and baths etc. but we finished. I got the original idea for family fun's no snow globes, but these have been greatly adapted to meet our needs. So here's what we did...
First you have to get some empty jars and clean them out. I let Free dry them once I got all the paper and glue off.

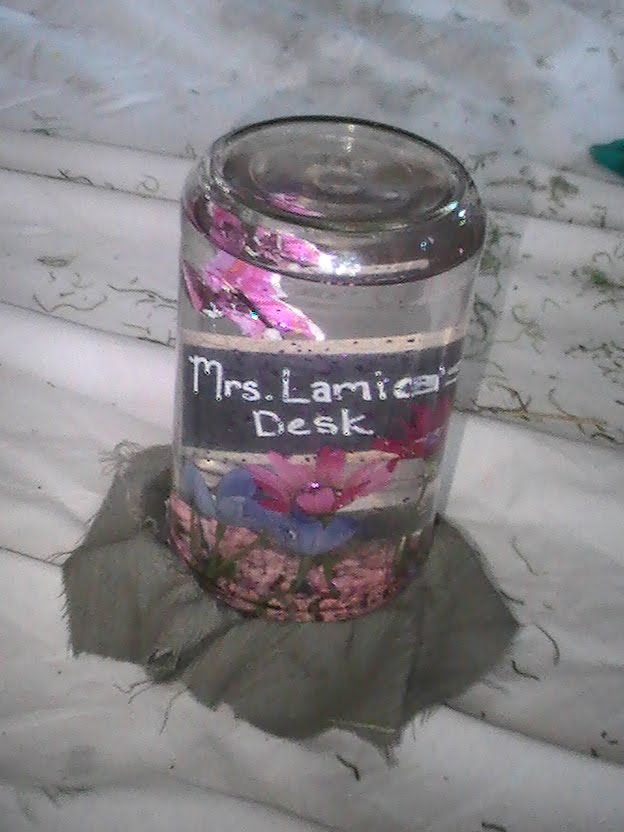
I made each a little sign that said Mrs. Chalk's Desk and Mrs. Lamica's Desk on black paper and glued them to brown paper and cut them out to look like little chalk boards. On the back I had Free write his name and I wrote the year, just to add a bit of sentimental value.

Next I covered them with packing tape thoroughly so that they would not leak inside the globe. Laminating would be great too but wasn't an option for me so I went with the tape. I also affixed a wire to them so I had something to glue to the lid to keep them in place.

Next I hot glued this sign and some flowers and a butterfly to the inside.

Be sure to check the fit of the arrangement frequently so that you don't make it to big for jar.

Next fill the jar almost all the way to the top with water and add a bit of glitter (don't overdue it I learned this lesson the hard way) probably about a tablespoon. I also added a bit of shiny heart confetti made of plastic that added a bit of fun to our sea of glitter.

Make sure when you put in the flowers in there are no pieces sticking out when you try to close the lid or it will leak. Closing the lid may take a few tries. Make sure to shake it about a few times to check for any leaking water. Once your satisfied with the seal you can hot glue the seal to make sure no water escapes down the road.

Next thing we did was cut a piece of green fabric into a square large enough to cover the lid. Size will depend on the size of your jar. Then I covered the lid with hot glue and affixed the fabric to it.
Cut off the extra fabric as close as you can so you have a nice clean edge.

Next we glued some moss around the bottom to cover the cut off fabric and make it look super pretty.

And that's it. They were pretty fun to make and not to difficult. Freedom got to do some hot gluing, which he loved, as well as cut fabric and pick out flowers. All in all I think they came out pretty nice. Mrs. Chalk's actually came out a bit better but both teacher's loved them immensely. I think we succeeded in creating a gift the teachers will not be forgetting any time soon, just like the little boy who made them!
Feel free to leave feedback as this is a fledgling project and I am sure we could make it better, or if you have questions I would be more than happy to answer them for you.
Thanks for checking them out. Blessings!
wow, they turned out great! i love the idea of the little sign inside with their name on it, perfect:)
ReplyDeleteThis looks awesome. They turned out great!
ReplyDeletethats horrible that animals ate your garden. up until recently ive had problems with my chickens jumping over their fence and digging up most of what i planted- so not fun to have all our hard work undone! hope you can come up with some kind of fencing to keep the freeloaders out:)
ReplyDeleteWhat a great idea.They look great...:)
ReplyDeleteThese look wonderful, what a great idea!
ReplyDelete( I left an answer for you following your question:))